-->

Passing The Recreational Pilot Licence (RPL) Flight Test

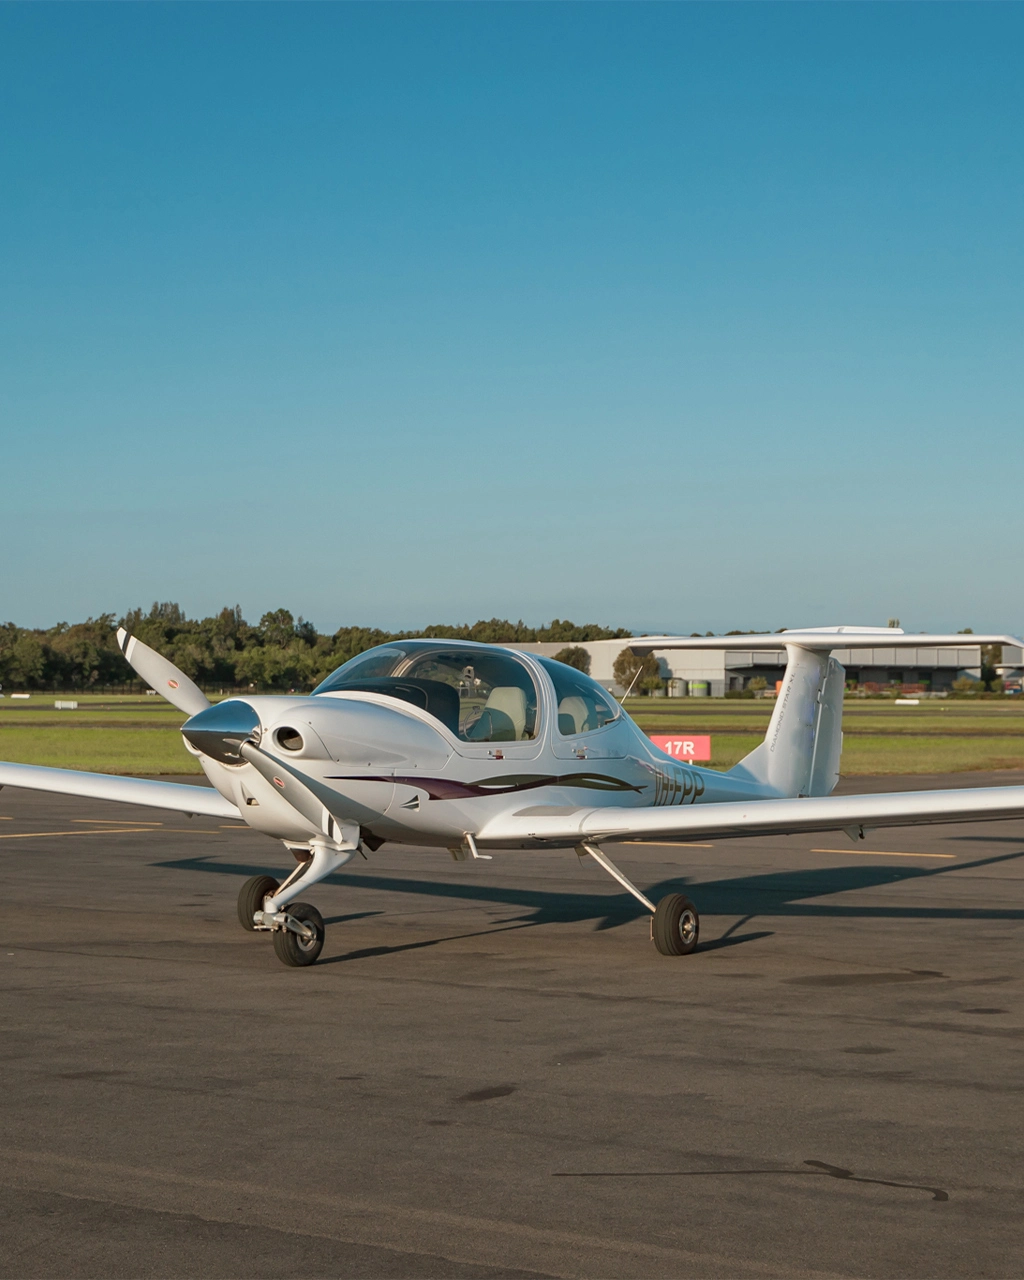
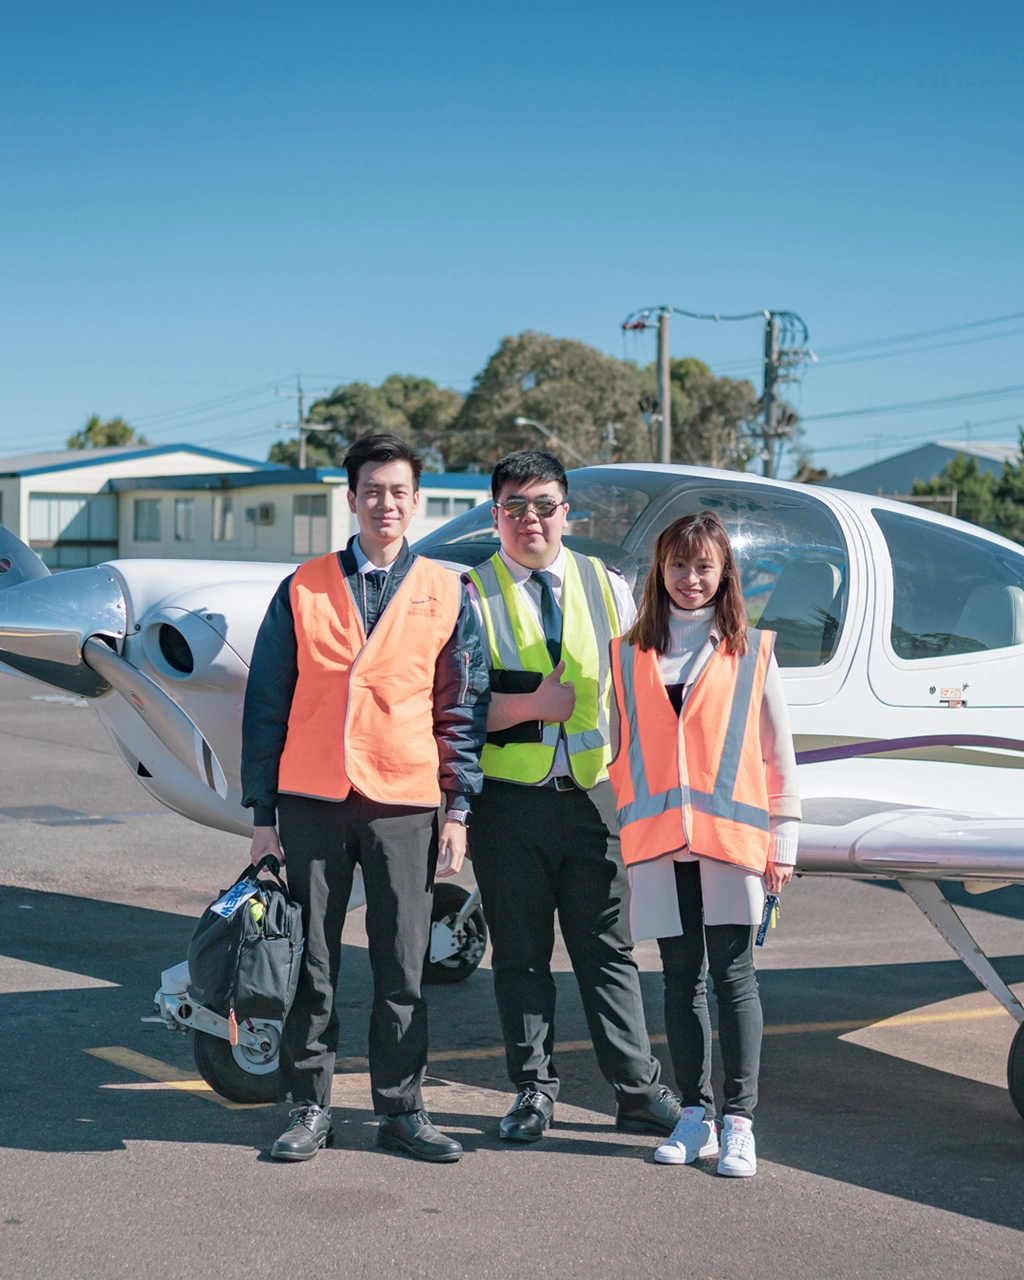
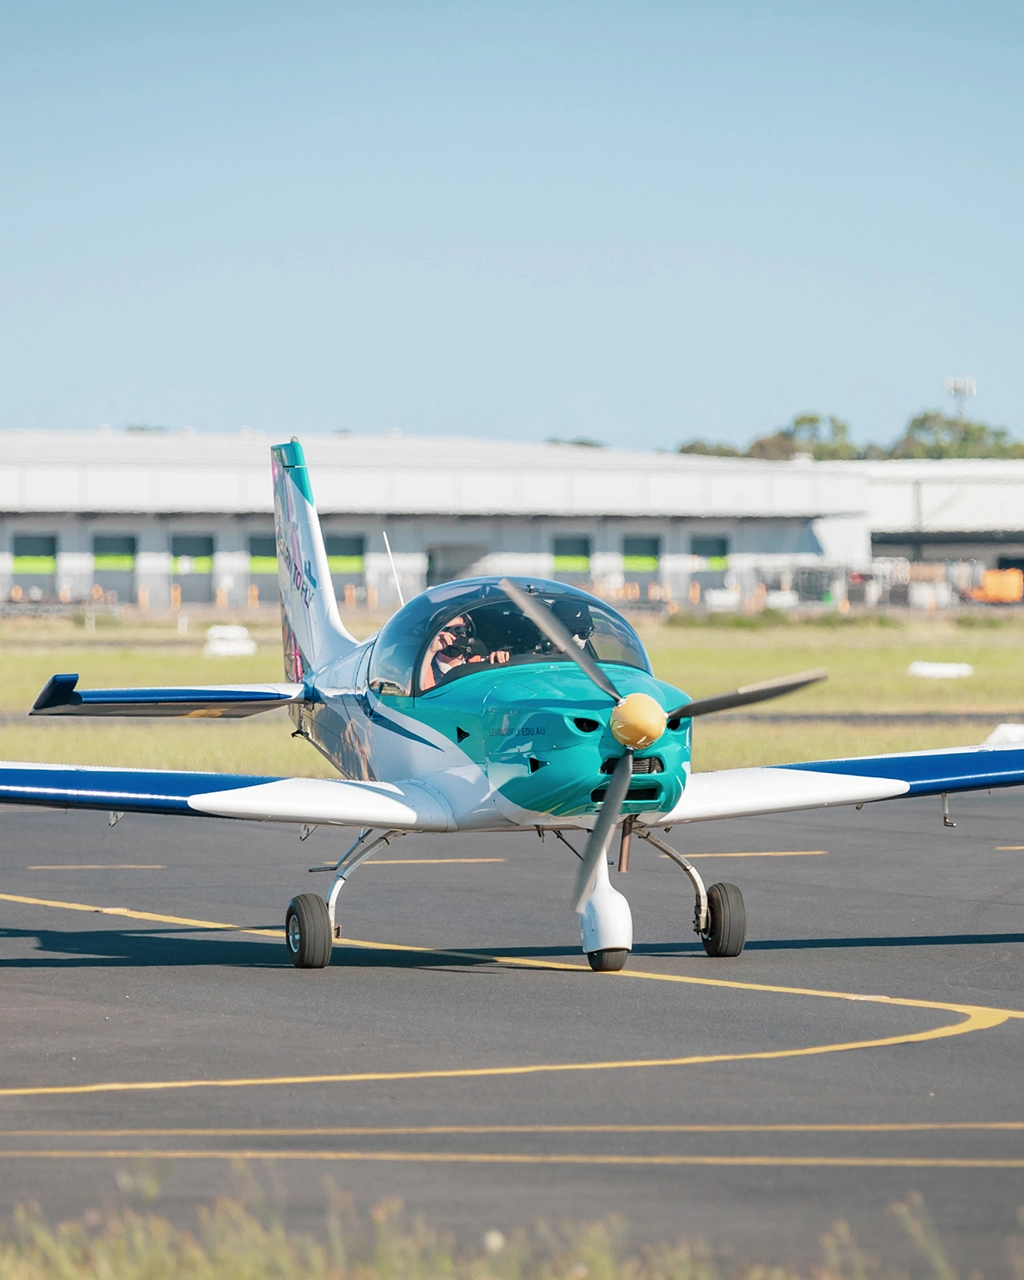
Every professional pilot once undertook and passed their Recreational Pilot Licence (RPL) flight test. You’ve completed your theory and your flight training, and your instructor has told you that you are ready. But what should you prepare for in order to pass the test with flying colours?

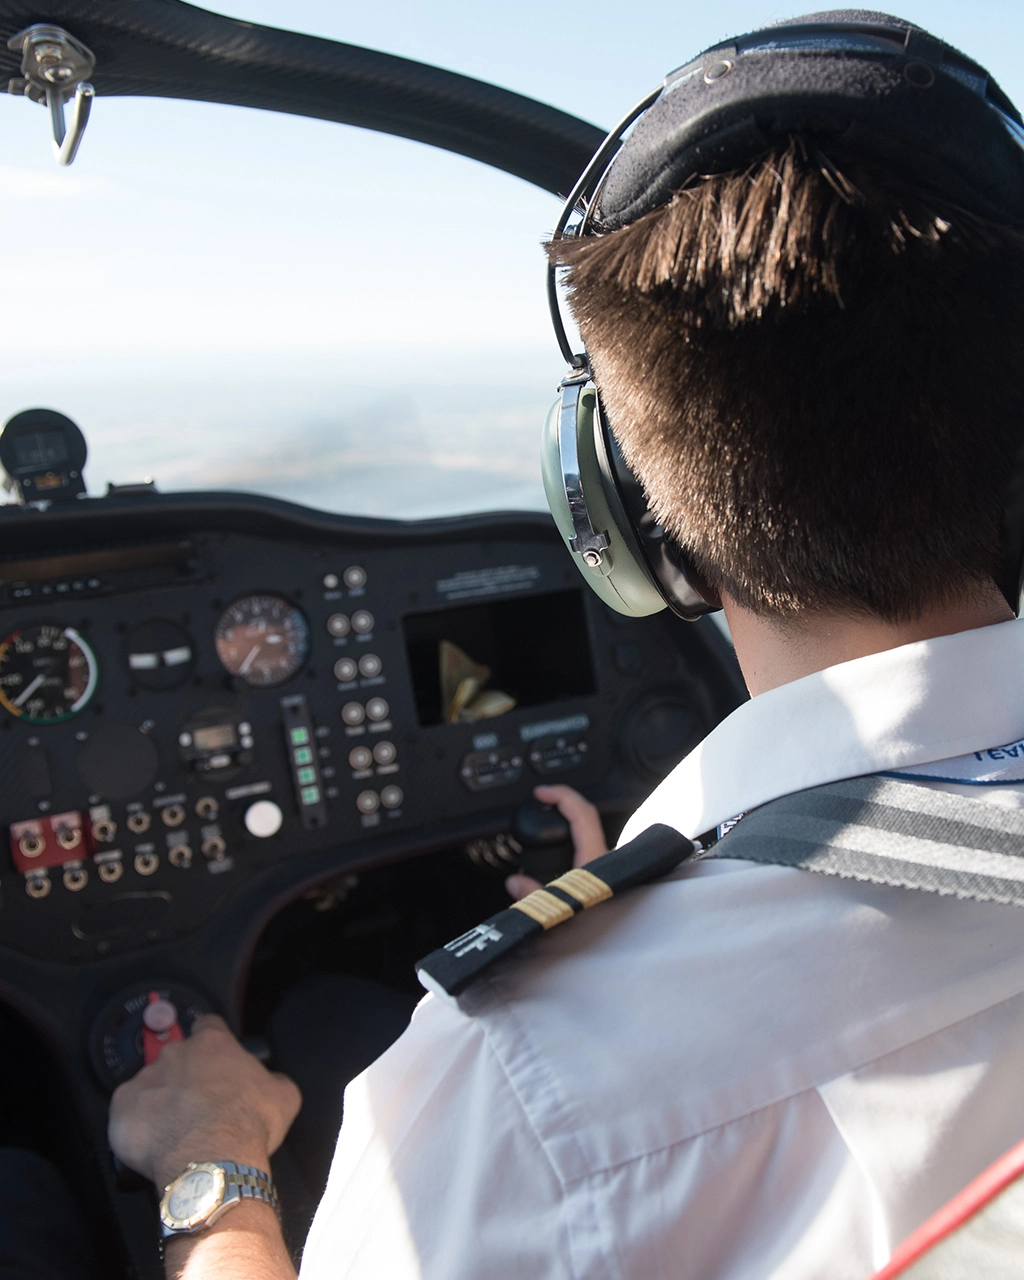
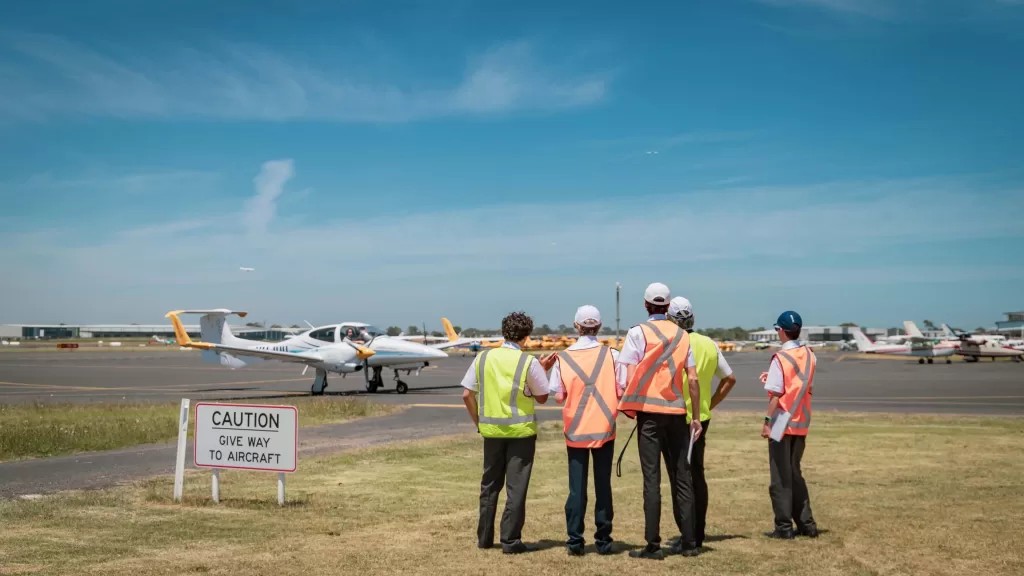
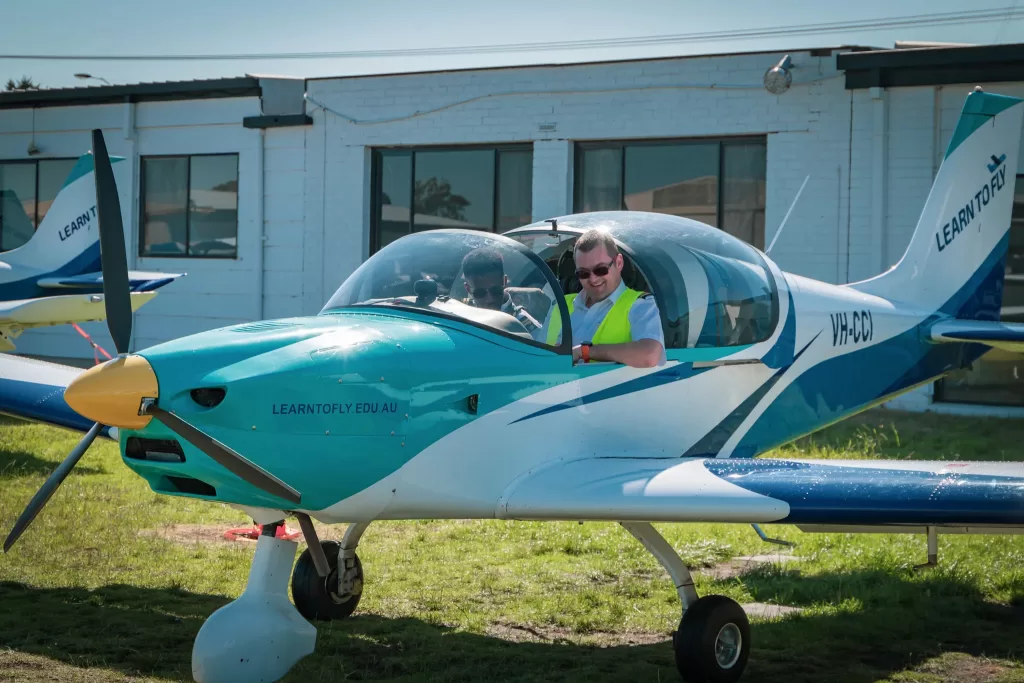
On the day of the test, the CASA-approved testing officer will sit with you and run through how they will be grading you. It may seem daunting, but don’t stress, going for and passing your Recreational Pilot Licence flight test really isn’t as scary as you make it out to be. Plus, it’s all based on knowledge and skills that you have already demonstrated.

In-flight, your testing officer will want to see how you can demonstrate the following:

1. Steep turn through 360 degrees and back onto the original heading

The best way to do this is to make sure you give a thorough lookout to ensure you are in the clear before the turn. When you’re ready, hold the required amount of back pressure on the control stick so as to stay more or less the same altitude or level out in anticipation as you come back upon your original heading.

2. Stall recovery

For this part of the test, your testing officer will want you to demonstrate stall in various configurations. Make sure you remember the HASELL checks—Height, Airframe, Security, Engine, Location, Lookout—and know how to identify the symptoms before entering a stall.

Your instructor may also ask you to demonstrate how to recover a stall with a wing drop. If you make sure to use rudder rather than the ailerons, in the opposite direction of the dropped wing, you’ll be fine!
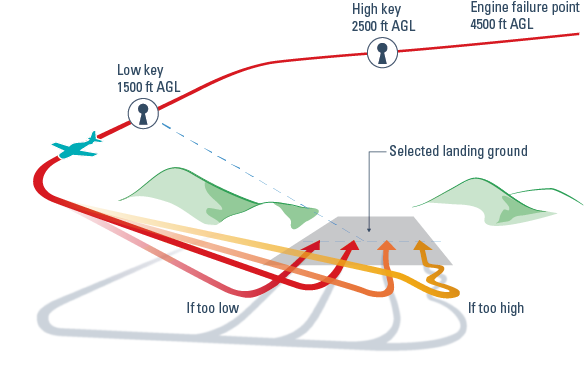
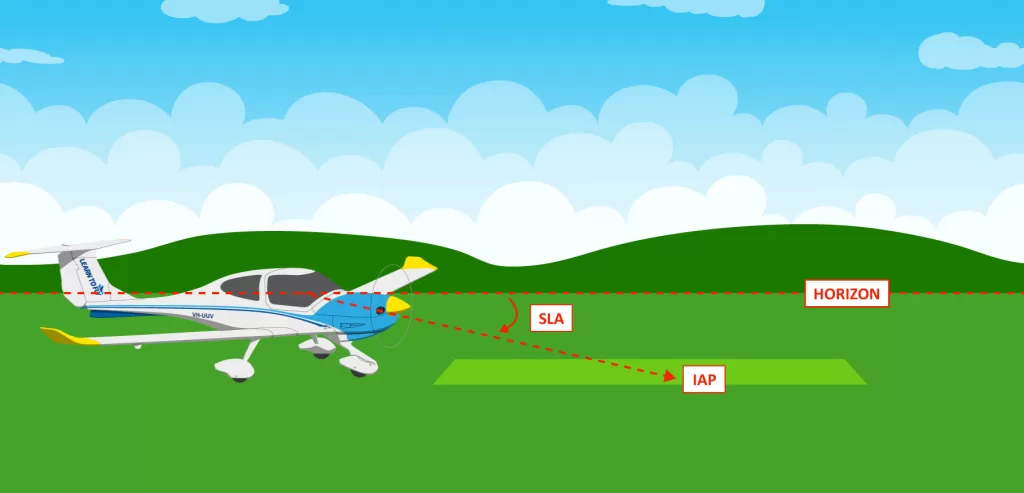
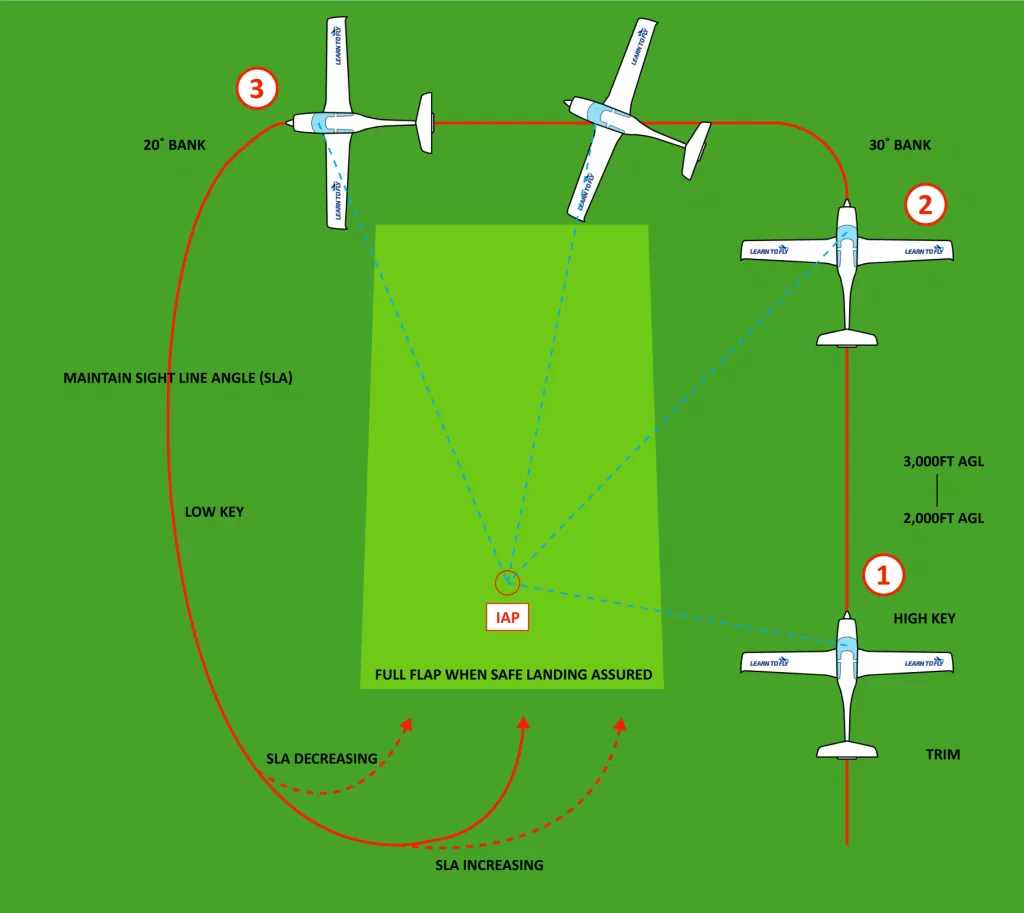
3. Forced landing

An integral part of flying – and your responsibility – is to be prepared for anything. To make a forced landing successfully, maintain control of the aircraft and select the suitable field. It is important to carry out all emergency checks. Conduct the passenger brief and mayday call, and always make sure to reassure the “passengers” that you are a trusted pilot and have been trained to handle emergency situations.

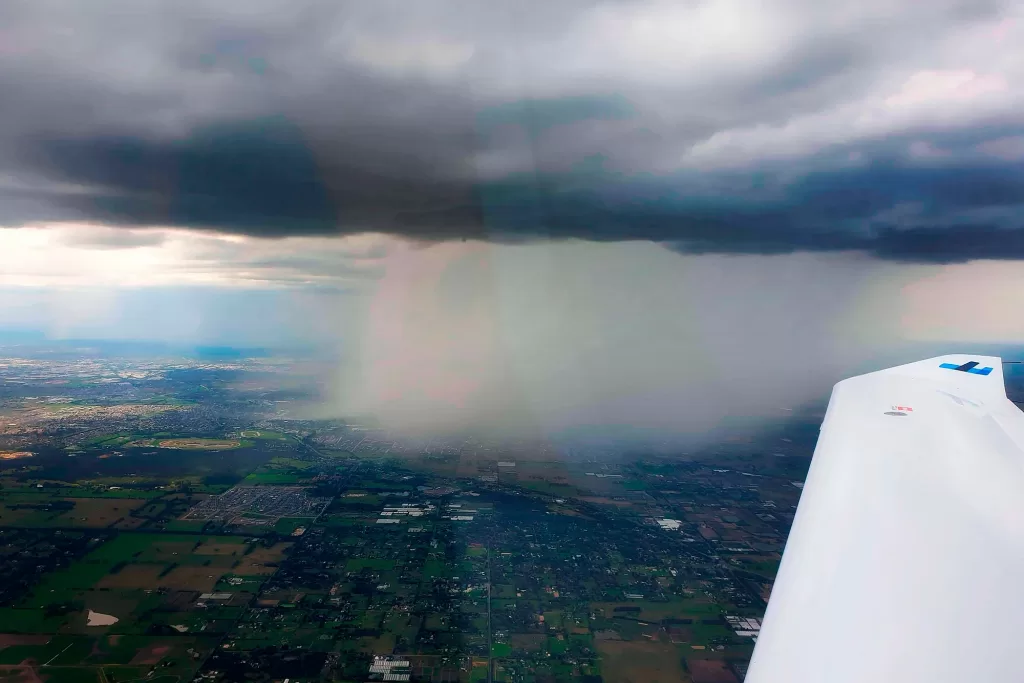
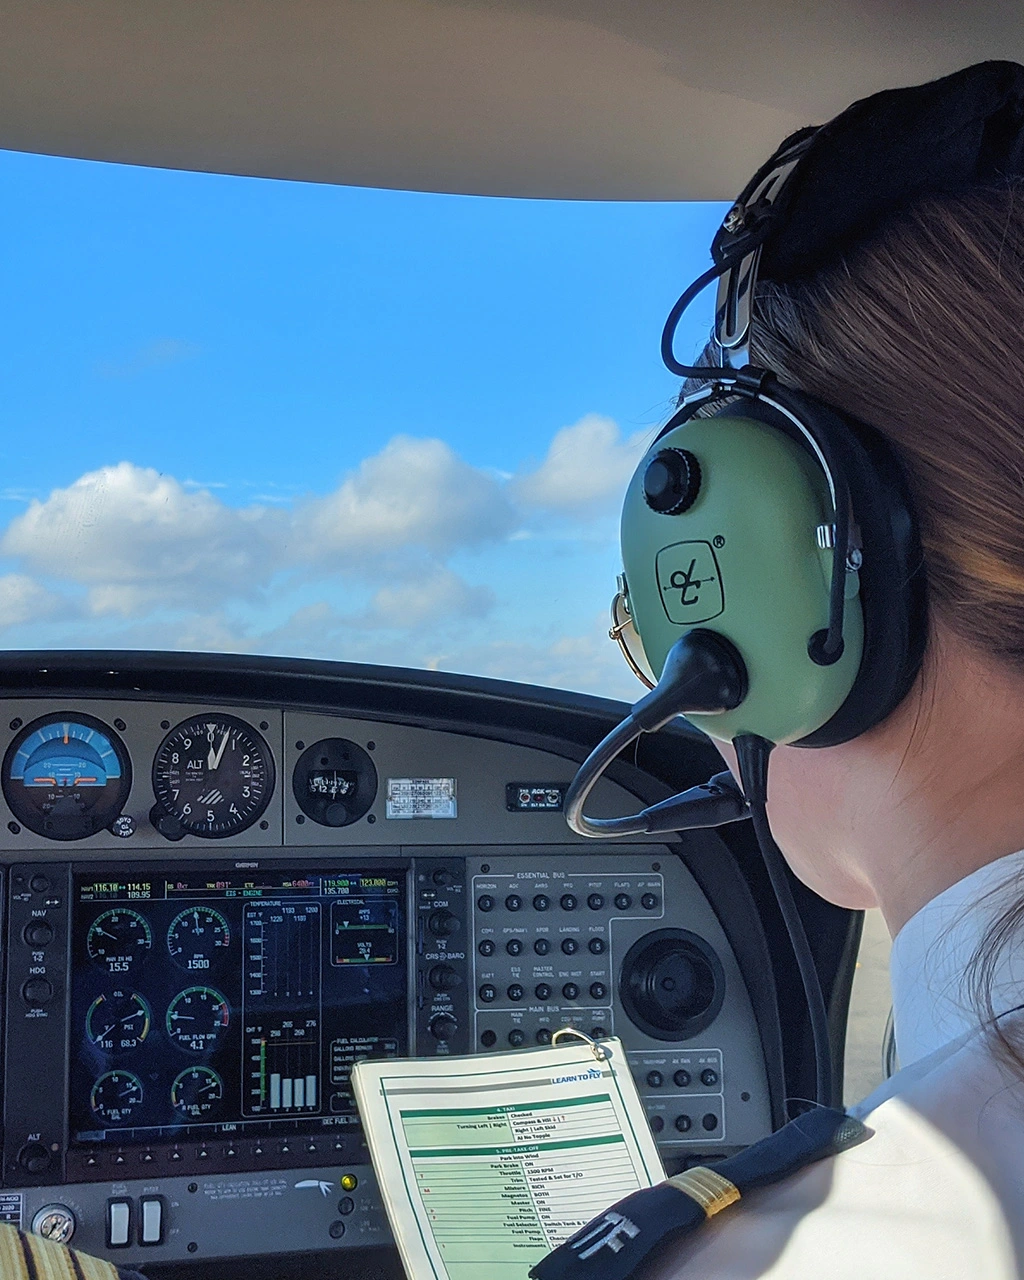
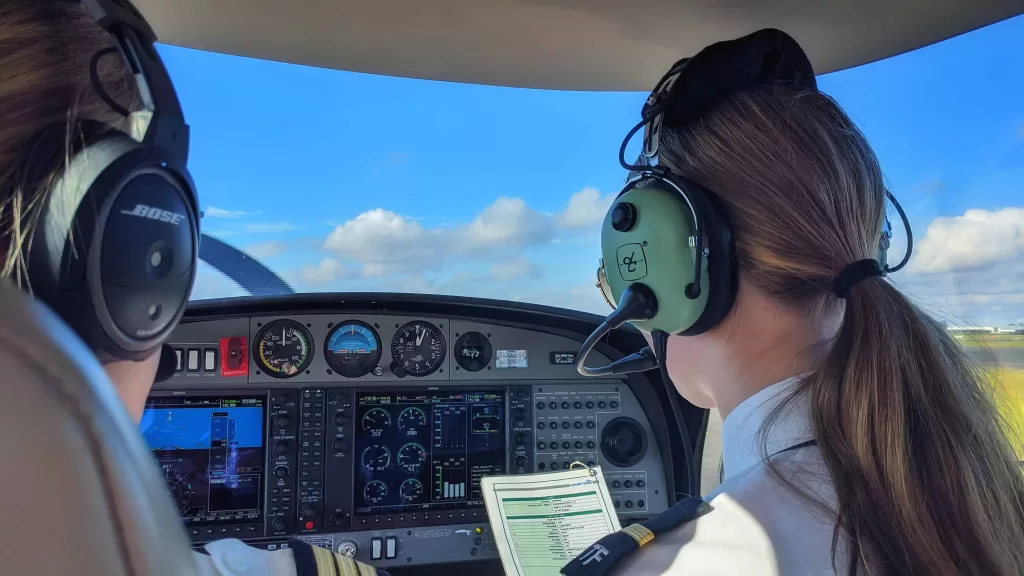
4. Instrument flying

The testing officer will want to see your demonstrated ability to fly on instruments alone under the hood. To do so, ensure you stay within the +/- 100 of the requested altitude and +/- 10 of the requested heading.
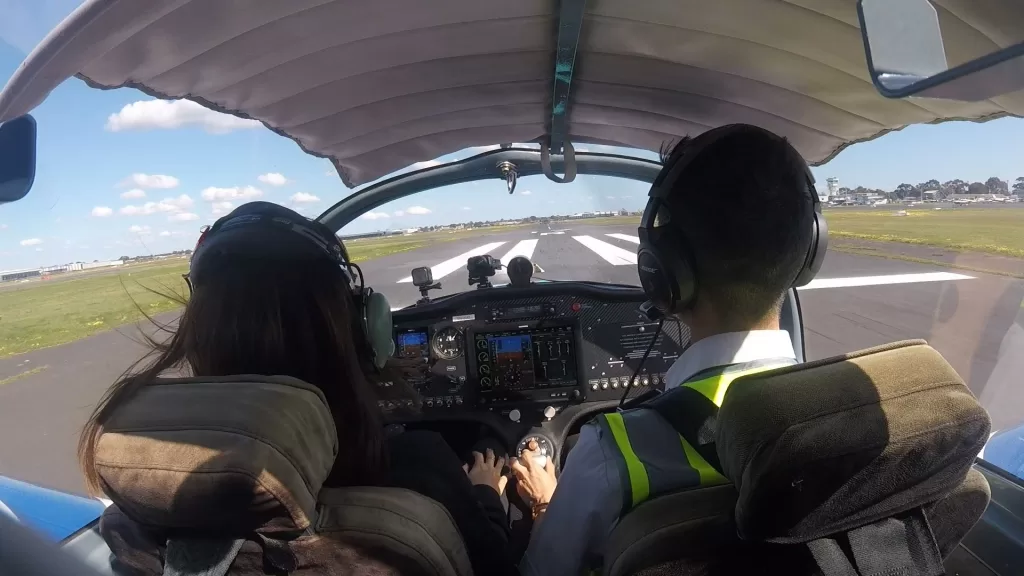
5. Circuit flying

The final part of passing your RPL flight test will have you demonstrate how to fly a squared circuit pattern and control your speed and altitude when doing so. Make sure you can also land the plane with different approach configurations, and manage engine failure after take-off and in the circuit.

Remember your inbound radio calls as you return to Moorabbin Airport’s control zone, and congratulations, you’ve completed the test.

After passing the RPL flight test and obtaining their RPL, students are qualified to fly within 25 nautical miles of the departure airport and carry passengers, during daylight in good weather (VFR) conditions.

Remember that every professional pilot was once a student, itching to achieve their next milestone. Bombarding their flight instructors with questions about how many flying hours it would take for them to reach their First Solo, Training Area Solo, RPLPPL and finally, CPL.

However, we know that while flying itself is a great adrenaline rush, you shouldn’t be in a rush when learning and attempting your exams. If you mess up any part of the RPL flight test, remember that it won’t be the end of the world. You will always be able to have another go.

Student-Pilot-Checklist
Remember your checklists! They are crucial to successfully passing your RPL flight test.

For more information on our RPL course, email [email protected] or go to https://drift.me/learntofly/meeting to book a meeting and school tour. You can also get more handy flying tips by clicking below and subscribing to our YouTube channel!

Learn-To-Fly-Melbourne-Youtube-Subscribe-Footer

Aircraft Forced Landing Techniques

A situation that requires a forced landing is something that most pilots would rather not experience while flying. But the reality is, that while uncommon, it could happen at any time. It’s a pilot’s job to be prepared. Like anything, practice makes perfect. In this blog we look at aircraft forced landing techniques.

To complicate things a little, there are a couple of different aircraft forced landing techniques a pilot may be instructed to follow. Knowing them all gives you more flexibility to make the right decision should the need arise. Lets take a look at both the traditional and alternative methods.

Traditional High Key / Low Key Forced Landing Technique

The High Key /Low Key technique is the method traditionally taught in most civilian flying schools across the world. This technique depends on your judgement of the trajectory of the flight in order to hit 1500 feet by your low key position, which is normally abeam your IAP (Initial Aiming Point) on a downwind.

Forced-Landing-Technique-High-Key-Low-Key
The High Key / Low Key method is the most commonly taught of the aircraft forced landing techniques

Some believe this technique to be somewhat flawed. There are a lot of factors to process in order to clearly judge the altitude of your aircraft in a glide at a particular arbitrary point. It also requires the pilot to be extremely knowledgeable about surrounding terrains and the elevation of the terrain they are flying over, which sometimes can be challenging.

Constant Aspect Technique

The Royal Air Force has developed a newer method, known as the Constant Aspect Technique. This method combats the issues of different aircraft, and the requirements for some undetermined judgements.

The principle of this aircraft forced landing technique is that it removes all the guessing of altitude and descent angle. It narrows down to one thing, which is called the “Sight Line Angle” or SLA. It is the perceived angle between the IAP of your landing field and the horizon.

Realistically, all you can look at during the forced landing with this technique is airspeed and the SLA.

Forced-Landing-Technique-SLA
The “Sight Line Angle” or SLA is the perceived angle between the horizon and the IAP of your chosen landing field.

The SLA is the “Aspect” which is part of this entire forced landing approach, and the “Constant” is basically the entire technique itself. The ultimate goal of the entire pattern is to keep your SLA constant as you approach the IAP.

How To Conduct The Constant Aspect Technique

The first step to fly this approach is to pick a landing field within safe gliding distance and meet the criteria set out by your instructor. Next, you can choose a sensible IAP within the first third of your landing field. This will be the “fulcrum” where your aircraft will pivot during the entire pattern, which ideally is a round pattern unlike the High/Low Key method with a rectangular pattern.

Forced-Landing-Constant-Aspect-Technique
The Constant Aspect Technique is one of the newer aircraft forced landing techniques.

Ideally, you will join what is equivalent to a crosswind. However, depending on wind direction, it may be a direct downwind or a midfielder crosswind join into the “circuit”. It is important that your bank angle does not exceed 20 degrees during the approach. Otherwise, you may risk the SLA either increasing or losing airspeed and glide ratio due to the reduced vertical component of lift and increased drag.

If your SLA is increasing (getting too high), deviate from best glide speed or increase spacing.

If your SLA is decreasing (getting too low), decrease spacing, fly inwards.

When approaching final, you must make the turn in to directly approach your IAP. This is the time when you decide, using your knowledge of the trend of your SLA, whether you:

1. Cut in short

2. Fly a standard final, or

3. Overshoot and then turn back onto final depending on your height.

If the SLA is high, you have three options to get back onto glide path. You can use flaps, do S-turns or do a steep slip, or you can combine S-turns and steep slips if it is ridiculously high.

This technique is not only used by RAF but also being slowly accepted by flying schools around Europe and the UK.

It is recommended that everyone should practice the entire pattern all the way down into the flare and touchdown. You will find out, if you really are ridiculously high, you can still hold the slip into the flare, centralise the rudder when the aircraft sinks, and then continue to flare.

Experiment With Aircraft Forced Landing Techniques

Chat to your flight instructor about which method they prefer and why. Proactively seek to practice both aircraft forced landing techniques, so that you know which one you feel more comfortable with.

Thanks to LTF student pilot Howard Lau for contributing this article on aircraft forced landing techniques. For information on our flying courses, email [email protected] or go to https://drift.me/learntofly/meeting to book a meeting and school tour. You can also get more handy flying tips by clicking below and subscribing to our YouTube channel!

Learn-To-Fly-Melbourne-Youtube-Subscribe-Footer

Victoria’s First Diamond DA40 Flight Training School

Our first Diamond DA40 has just landed to join our flight training fleet at Moorabbin Airport in Melbourne. This means that we are now officially Victoria’s first Diamond DA40 flight training school.

The arrival of the DA40 continues Learn To Fly Melbourne’s successful expansion over the past year. We have committed to building the state-of-the-art Learn To Fly Flight Training Centre on a new larger site, and have received our Part 142 qualification.

About The Diamond DA40

The DA40 is a reliable and durable four-seater aircraft, made out of lightweight and robust composite material. Powered by a Lycoming IO360 engine, and boasting a spectacular balance between performance and durability, the Diamond DA40 is a brilliant flight training aircraft.

Our DA40 has a Full Authority Digital Engine Control (FADEC) system, helping LTF students secure a seamless transition from RPL all the way through to CPL training. It also makes the aircraft both efficient and economical. This is particularly handy when completing long navigational flights for PPL, and for CPL hour building.

This state-of-the-art aircraft is decked out with both round instrument panels and the Garmin G1000 avionics. The cockpit has plenty of space, with a comfortable and ergonomic design, and excellent visibility.

We plan to order even more DA40s moving forward, further expanding our fleet. It is our goal to give our flight training students as much flexibility as possible.

Diamond DA40 Specs

Engine: Lycoming IO360

Avionics: Garmin G1000

Cruising Speed: 130 Knots

MTOW: 1,150 Kilograms

Wingspan: 11.9m

Landing Gear: Tricycle

Available Diamond DA40 Flight Training Courses

Given its versatility, the Diamond DA40 can be selected for most of our flight training courses. It is perfect for Recreational Pilot Licence, Private Pilot Licence, and Commercial Pilot Licence students. Its Manual Pitch Propeller Control (MPPC) means that we can now offer this as a design feature endorsement. The DA40’s Garmin G1000 means that it is also equipped for Instrument Ratings.

In addition to this, we have plans to order the DA40’s twin-engine sibling, the Diamond DA42, for multi-engine training. This will provide our students with an even more seamless transition from single engine training to multi engine training. Stay tuned!

Dimaond-DA40-Flight-School
Learn To Fly has become the first Diamond DA40 flight school.

Want to learn more about flying with the only Diamond DA40 flight school in Victoria? Email [email protected]. You can also visit https://drift.me/learntofly/meeting to book a meeting and school tour.

Learn-To-Fly-Melbourne-Youtube-Subscribe-Footer

How Flying Critical Incidents Can Occur

When an aircraft flying under Visual Flight Rules (VFR) enters Instrument Meteorological Conditions (IMC), flying critical incidents can sometimes occur. In most cases, this is due to reduced visibility or inadvertent entry into clouds. Both of which happen because of the loss of the natural horizon.

Unfortunately, such flying critical incidents have cost the lives of many pilots.

You hope it will never happen to you

Before I began my pilot journey, I always seemed to find the time to read unfortunate accident reports where a non-instrument rated pilot on a VFR flight enters IMC. It is even more unfortunate to realise that many of these incidents become fatal accidents. The more I’ve read, the more I’ve tried to make myself believe, ‘It will never happen to me!’

For non-pilots, all of these accidents seem preventable. Reading the Terminal Area Forecast (TAF) and good weather knowledge are all valid and effective strategies to combat any similar occurrence from happening. However, today I will write about a time when this happened to me on a training flight, nonetheless with an experienced instructor on board.

The importance of sharing stories

Before undertaking the task of writing it, I had been wondering about whether or not I should really share my story. However, I made the decision to do so knowing it could help educate other pilots and student pilots about when flying critical incidents can occur.

Cloudy conditions and lower visibility

It was a very cold morning after a cold front came through the day before. I checked the METAR of Hong Kong International Airport and the forecast indicated cloud covers clearing and rising to 2500 feet with 9 kilometres of visibility. However, as I arrived in the flight operations office, we received PIREPs from other pilots of temporary visibility reduction to an estimate of fewer than 3 kilometres near the high ground. I knew this could become an issue upon exiting the airfield area into the training area via a gap in the mountains.

The aircraft from previous slots were rocking the circuit and about to finalise their return. Skies above Shek Kong Airfield were clearing and let in some warm sunlight. However, the area towards the exit route (Kadoorie Gap) into the training area was still rather cloudy. I saw clouds on the other side of the mountains and thought this could really be an issue for our flight today – we had some instrument flying planned.

Climbing to 1500 feet

My instructor had nearly 40 years’ experience in the UK as an aerobatic pilot and warbird pilot. He also holds an Instrument Rating – Restricted on his CAA license – although on his Hong Kong license he does not hold such rating. Even so, his instructor rating allows him to teach basic instrument flying and tracking. On this day, despite the clouds, I put my trust in his judgement and was well aware of his capabilities since we had flown together numerous times.

We taxied out to the runway after our run-up checks, only to notice something very strange. Our slot was supposedly fully booked out with our entire fleet expected to fly. However, there was no action on the aircraft apron. I recall looking to my right as I prepared to shift into full power for takeoff and witnessing all the aircraft sitting idly, waiting for the weather to clear. Still, I thought there was no time to waste and we took off.

We climbed to 1500 feet and tracked towards the exit. As soon as we switched frequencies for traffic information service we heard a rescue helicopter saying, “Visibility deteriorating to less than 3000 meters.” I wasn’t sure where the helicopter was, but in retrospect, it really should’ve been the warning to turn back. We pressed on and exited out of the mountain gap and went on to “the other side,” where all the nasty clouds were, maintaining 1500 feet all the way through.

Scary in-flight sights

As soon as the mountains disappeared from my peripheral vision, my instructor and I realised that visibility was not 9 kilometres, as we had initially projected, and I could only see what was in front of us by looking downwards.

The only visibility I had was of the ground below, including the roads, trees and buildings of Tai Po. I looked back and realised that our only escape route back to the airfield would be obscured if we kept going. Just as I was about to turn back, it became apparent that my instructor had the same idea in mind. “Bring us back,” he said.

Returning through the mountain gap

The direction indicator on that particular Cessna 172 was somewhat defective. This meant I started my timer on my watch and began a rate one turn to the left. I timed for 1 minute, which at 3 degrees a second would be a full 180-degree turn. Fortunately, the mountain gap remained in view this entire time and I instinctively throttled up to return quickly. We were pushed even lower as we entered the airfield airspace, finally descending to 1300 feet. It was very uncomfortable watching the mountains on either side of me come so painfully close.

Lessons learnt

Of course, we were fortunate that despite this being a VFR into IMC incident. The visibility was still sufficient for a safe turn-back manoeuvre.

Among the contributing factors to the success of this was the expertise of my instructor, who holds a restricted instrument rating in the UK, and the fact that at this time I had already completed an hour of instrument flight training. A serious lesson in how flying critical incidents can occur.

After landing, and during the debrief, we narrowed the causes down to the ‘get-there-itis’ that occurred as a result of wanting to squeeze more instrument flying time in for me and also the fact that my instructor was instrument-rated and we put such confidence in his expertise. In retrospect, we shouldn’t have even left the ground in the first place.

This flying incident is proof that pilots with any amount of experience can be sucked into this veil of complacency. They then can make decisions which go against rational and safer judgement. It is an incident my instructor and I will both go on to remember.

Safe flying everyone!

Flying-Critical-Incidents
When an aircraft flying under Visual Flight Rules (VFR) enters Instrument Meteorological Conditions (IMC), flying critical incidents can occur.

Thanks to LTF student pilot Howard Lau for contributing this article on how flying critical incidents can occur. For information on our flying courses, email [email protected] or go to https://drift.me/learntofly/meeting to book a meeting and school tour. You can also get more handy flying tips by clicking below and subscribing to our YouTube channel!

Learn-To-Fly-Melbourne-Youtube-Subscribe-Footer

Five Benefits of Choosing a Part 142 Accredited Flying School in Australia

Learn to Fly Melbourne is excited to announce that we have become a Part 142 accredited flying school operator under the Civil Aviation Safety Regulation (CASR).  This results from our new partnership with Australian Pilot Training Alliance (APTA).

Over the past few years, pilot licencing regulations in Australia have been reorganised and redeveloped. They have changed from older criteria to reflect a more global perspective regarding pilot licencing and standards.

This move may not be obvious to the customer or pilots. Yet it has given rise to new terms and extra regulations and definitions. Flight training organisations across Australia now have two main paths that they can follow when seeking to earn their air operator certificate: Part 141 and Part 142.

Why choose a Part 142 accredited flying school in Australia?

Less than 5% of flight schools in Australia have received the advanced Part 142 flight training qualification. This accreditation means that we can continuously expand our flight training operation to reflect the highest industry standard.

There are numerous benefits for students, pilots and instructors who fly at a Part 142 accredited flying school.

1. CASA Approved Syllabus

Part 142 organisations must provide a Civil Aviation Safety Authority (CASA) approved syllabus of training. This CASA approval caveat for Part 142 initiates the necessity for additional oversight of training programs within organisations.

This results in further internal development and higher levels of safety and training. That subsequently improves standards not just within individual organisations but also within the wider aviation community. Part 142 flying schools benefit from a consistently higher level of governance and checks from CASA.

2. Advanced Flight Training

Our comprehensive CASA approved flight training syllabus includes the following new courses and types of flight training:

Integrated flight training for Private Pilot Licence (PPL) or a Commercial Pilot Licence (CPL) courses

Multi-Crew Pilot Licence (MPL), Air Transport Pilot Licence (ATPL) and Flight Engineer Licence

Multi-Crew Cooperation (MCC) training

Contracted recurrent training and checking

Being able to offer integrated flight training is one of the major points of difference between the Part 141 and Part 142 qualification. What it means for students earning their CPL is that they can cut down their flight training hours from 200 to 150 – a 50-hour flight training discount when compared with Part 141 flying schools.

3. Increased Cost Effectiveness

Integrated flight training – Our 150 hours Integrated CPL syllabus which blends practical flying and theory-based training compared with the 200 hours CPL syllabus offered by other Part 141 schools – is just one of the ways that the Part 142 qualification is extending our commitment to provide students with cost-effective flight training.

4. Internal Training & Checking

Part 142 flight training organisations are required to have a professional development program for all personnel and flight instructors within the school. They must also have a quality assurance manager to ensure ongoing high standards.

This conditional improvement of know-how and standards applies not just to students, but trainers and instructors alike who continually develop their own skills within an organisation.

5. Enhanced Safety

All Part 142 flight training organisations must have:

A Safety Department & Safety Management System

A CASA Approved Safety Manager & Deputy Safety Manager

A Risk Management System

Regular safety meetings, audits and reviews

Safety oversight globally has become one of the main areas of focus in not just maintaining high aviation standards, but improving safety as a whole. This is most visible in the incorporation of formalised procedures for Safety Management Systems.

These systems actively monitor standards and safety within training organisations by promoting an ongoing awareness, attitude and approach towards threats and risk on a daily basis. The net result for pilot candidates is that these systems set a higher standard for all who come in contact with them, making not just the individual pilots safer, but organisations and the industry as a whole.

We are excited for students to enjoy the increased benefits of training with us now that we have achieved the CASA approved syllabus Part 142 qualification.

Part-142-Accredited-Flight-School
Students enjoy some fantastic benefits training with a Part 142 accredited flying school.

Want to learn more about the benefits of flying with a Part 142 accredited flight school? Email [email protected]. You can also visit https://drift.me/learntofly/meeting to book a meeting and school tour.

Learn-To-Fly-Melbourne-Youtube-Subscribe-Footer

Pilot and Aircraft Safety at Learn To Fly

At Learn to Fly, pilot and aircraft safety is and always will be our number one priority. It is the cornerstone of our operation, and we strive to maintain a positive and transparent safety culture.  We continue to uphold an impeccable safety record as conveyed on the Recreational Aviation Australia (RAAus) Accident and Defect Summaries. 

The safety culture at Learn to Fly acknowledges that flying and flight training involves risk. It’s vital that students and instructors alike are educated about these risks and the processes involved in risk minimisation.

See how we carry out pilot and aircraft safety in our flight training operations at Learn To Fly.

Aircraft Maintenance

Each aircraft requires maintenance checks for every 50 and 100 hours of flying. All scheduled maintenance is planned in advance. We will never undertake any flights or flight training on planes requiring maintenance.

Pilots and engineers can write up a defect on the aircraft’s Maintenance Release (MR) at any time. For serious defects, the aircraft will immediately become unserviceable and simply will not go flying until maintenance is completed.

The Maintenance Release is required to be signed by a pilot (instructor or pilot certificate holder) before the first flight of each day to ensure that the aircraft has passed the daily inspection requirements and is suitable to fly.

Instructor Qualifications

Pilot and aircraft safety for us also means company standards require that instructors at Learn to Fly be well-trained. We will only employ instructors who we are confident, focused, alert and ready to respond immediately to any potential situation where the risk outweighs the learning opportunity.

Based on the current guidelines, all of our flight instructors are at an RAAus senior instructor level. This rating can only be achieved if the pilot accumulates certain flight training experiences and passes a flight test that is conducted by external RAAus certified flight testing officers.

Some of our students may become junior instructors when they graduate. However, it is a compulsory requirement that they are supervised by senior instructors when they work at the school.

In addition to this, our chief flying instructor (CFI) actively supervises all flight training operations and consistently checks training records and documentation. This ensures that Standard Operating Procedures (SOPs) are complied with for both instructors and students. SOPs compliance is checked at various times. This is usually by attending flights with students to confirm SOPs are maintained, and ensuring all instructors have current qualifications.

Flight Training

We ensure a safe learning environment every time.  A student will not fly if the weather is not suitable for that particular lesson. For solo flights, these standards will be even stricter and reflect considerations such as turbulence, wind speed, daylight, student’s abilities etc so that we can provide

Before all flights, the aircraft will be thoroughly inspected. This ensures all controls are functional, check for obvious damage to the engine, airframe or structure before any flight is to take place. After engine start and prior to takeoff further checks are carried out as per the SOPs. This is recommended by both the aircraft manufacturer and in the aircraft’s Pilot’s Operating Handbook (POH) to further assure a safe and efficient flight takes place.

Each student’s flights are recorded in detail. Instructors will rate their performance to make sure students reach the standard or competency of that particular lesson. Students who do not meet these standards or competencies will have to redo the lesson sequence until this standard is met. Within the school, we have systems in place to cross-check and ensure that all training records are completed and updated in a timely manner.

Briefings are always done properly and consistently before and after each flight. This ensures that students are both aware of what they are going to do, and of the specific standard that is required for that particular lesson.

Prior to solo flights, instructors will double-check to make sure the students have all the required documents such as a medical certificate, student pilot licence etc. Training records must also show they have achieved all the necessary competencies prior to undertaking any solo operations.

Creating a Pilot and Aircraft Safety Culture

Further to the priorities and procedures outlined, we maintain our own Risk Management Plan and Safety Management System. This enables us to further minimise the potential risks associated with flight training. Despite this comprehensive system, we must not think that we are infallible. We encourage all of our staff and students to form a habit of looking, learning, and discussing potential risks we see as part of our normal day to day operation. This attitude allows us to evolve and update our systems regularly. That then helps to ensure a safe operating culture persists within the Learn To Fly organisation and group.

We encourage instructors and students to go through appropriate channels to advise safety concerns within or outside of our operation.

We believe that technology as a communication tool has great potential to assist safety operations. Flight training software can provide updates on aircraft unserviceability or if an aircraft may need to be grounded; through to communicating safety concerns or topics that instructors or students raise within the organisation.

Exceeding Expectations

We aim to have higher safety standards than other flight schools in Australia.

On top of the Public Liability Insurance and the RAAus Member Liability Insurance, we cover an additional A$5 million in Liability Insurance for all of our students.

We only buy brand new RA-Aus aircraft so we can be certain of the maintenance history for every plane.

All RA aircraft in our fleet is equipped with Rotax engines which have an outstanding reputation and operational safety history.

At Learn to Fly, we believe all these extra steps – combined with the safety culture exhibited by our individual pilots, instructors, and the student group – will allow us to go a long way in providing an extra margin of safety.

Aircraft-PreFlight-Safety

Want to fly with us? Email [email protected]. You can also visit https://drift.me/learntofly/meeting to book a meeting and school tour.

Learn-To-Fly-Melbourne-Youtube-Subscribe-Footer

What is Threat and Error Management in Aviation?

Threat Error Management (TEM) in aviation is a term that has commonly been associated with airline operations. But it also extends to all other aspects of aviation. TEM is all about being a safe and well-prepared pilot.

The definition of Threat and Error Management in aviation 

Threat Error Management (TEM) has been defined by various institutions. The Australian authority Civil Aviation Safety Authority (CASA), defines it as:

‘The process of detecting and responding to threats and errors to ensure that the ensuing outcome is inconsequential – the outcome is not an error, further error or undesired state’.

It wasn’t always called TEM

The term has evolved over time from Cockpit Resource Management (CRM) to Crew Resource Management (again CRM), to its current form as TEM.

Although these big words and terms sound noteworthy, you most likely won’t come to grips with what they are really about or how much of an impact they have on a pilot during a flight without exploring them in detail through study and practice.

Its impact extends beyond aviation

While TEM was first adopted by the airline industry, its importance for all of us should not be underestimated. TEM has impacted of all kinds of industries in a multitude of ways.

Threat and Error Management processes and practices have become the benchmark when approaching tasks and activities in a range of professions, including our flight training and other standard aviation procedures.

TEM gives us perspective on perception

Each of the key concepts in TEM relates to a specific aspect of a total process, and all are aimed at handling a particular threat.

What is a threat? Furthermore, what is a threat to you?

In many cases, this threat can be different to the one which is commonly perceived.

Threats can come in many forms, such as environmental. The weather, or other factors that may seem inconsequential such as:

Flying in a different aircraft compared to your usual one

Having a change of instructor on the day

Preparing adequately for your flight

Not having enough sleep the night before

All of these are considered threats as they can have an impact on the outcome of any flight.

Errors become easier to manage

Beyond the threats is the resulting error. Some errors may result in a further error, varying in size but depending on how we handle it may or may not impact on the safety of the flight. Ultimately, this aspect relies heavily on how the management of that error is addressed.

As pilots, we are the last line of defence when considering errors and, therefore, safety. The key responsibility to prevent this error from having an outcome or impact on the flight and placing one’s aircraft in an ‘undesirable state’.

This management should not be underestimated because a significant or undesirable outcome places one in a position that none of us would like to contemplate, irrespective of the size or aircraft type that we are operating.

TEM Invites closer analysis of safety

The question that arises is what should we do when handling threats and errors each time we go flying? The answer may vary, however, we should actively look around us and consider any factor that may be perceived as a threat.

Beyond this, consider what error could arise from this and how as an individual you would manage or handle this situation. Only then with constant attention, proactive discussion and consideration of factors around us will we improve our skills and awareness towards becoming better and potentially safer pilots of the future.

See how Threat and Error Management in aviation is discussed in one of our flying lessons on YouTube below. Don’t forget to subscribe for more great flight training content!

Want to fly with us? Email [email protected]. You can also visit https://drift.me/learntofly/meeting to book a meeting and school tour.

Learn-To-Fly-Melbourne-Youtube-Subscribe-Footer

Final Flight Departure Procedures: Flight Departure Processes Part 3

In this blog series on flight departure processes we have covered engine starts, taxi checks, run-up checks and more. Now it’s time to run through the final flight departure procedures and take to the skies!

Use the TMPFISCH acronym

The proper acronym that applies whenever holding short is TMPFISCH, and it is what I usually use for my operations here in Hong Kong. It goes like this:

T – Trims set to the appropriate take-off position

M – Mixture rich, master on and magnetos on both

P – Primer in and locked (or fuel pump off)

F – Fuel is sufficient for the coming flight and flaps are set

I – Instruments’ Ts and Ps are in the green range

S – Switches (landing and strobe lights on)

C – Controls full and free

H – Hatches secure and harnesses secure

When you do your controls part of this departure check, make sure your box the controls. That means to move the controls in a movement of a box and ensure you have still got adequate freedom of movement. You might have a mile-long taxi, and something might have jammed the controls. Never skip this check as part of your final flight departure procedures.

Deliver your safety brief

You can do the EFATO brief (Engine Failure After Take-Off ) at any stage before the take-off, but I typically do it after run-ups. A typical brief should describe the actions that need to happen in the event of an engine failure at particular stages of the flight, such as:

During take-off

After rotation

Below 200 feet and with runway remaining

Above 200 feet with no runway remaining

Above 700 feet.

The brief goes something like this:

“If we have an engine failure on the ground, we stay on the ground. If we have an engine failure below 200 feet, we land on the remaining runway. If we have an engine failure above 200 feet, we land straight ahead or 30 degrees to the side. If we have an engine failure above 700 feet, we will turn back to find runway X.”

On a standard Cessna or Sling, 700 feet is plenty for a runway turn-back manoeuvre. However, during the turn back you MUST lower the nose to maintain airspeed and limit the angle of bank to 45 degrees. Never attempt a runway turn-back if an engine failure occurs below 700 feet!

Ready to go

You are lined up on the runway, and ready to take to the skies. It’as always an exciting moment for any pilot. However, discipline must be maintained during the final flight departure procedures.

Ensure you are on the correct runway by looking at your directional gyro, which will indicate the proper runway heading. It’s also a good practice to cross-check this reading with the magnetic compass as well. After that, you should triple-check with making sure that the runway numbers are indeed the intended runway. Everything checks out? Good.

Time to fly!

Now the take-off roll can begin. Ensure that your heels are on the floor and that you are controlling rudders only with the balls of your feet; this will ensure that you do not inadvertently apply the brakes! After you complete this, you should use full power – smoothly but with purpose – and count three, one-thousands before going all the way with to full strength.

After full power is applied, check on the RPM. They should be reading at or above the stated minimum static full-throttle RPM. At this stage, you should also check the oil temperatures and pressures and ensure that these are still sitting within the green range. Finally, you should check to ensure that the airspeed indicator is ‘alive’, meaning that it is indicating an acceleration.

At rotation speed, gradually apply back pressure and lift the nose wheel off the ground, allow the aircraft to fly off the runway and then adopt a Vy (best rate of climb) attitude to ensure maximum climb performance. Look outside! Once you are above 300 feet AGL and obstacles are cleared, move the flaps to up and auxiliary fuel pump (if applicable) to off. You should once again check the oil temperatures and pressures.

The result of following the correct final flight departure procedures? A smooth take-off, followed by another safe and beautiful flight!

Thank you to student pilot Howard Lau for contributing this great series on flight departure procedures.

IMSAFE-For-Pilots
With the final flight departure procedures done, it’s time to fly!

Find out what it feels like to take to the sky! Email [email protected] or visit https://drift.me/learntofly/meeting to book a meeting and school tour.

Learn-To-Fly-Melbourne-Youtube-Subscribe-Footer

Flight Pre-Departure Checks: Flight Departure Processes Part 2

In Part 1 of our flight departure processes series, we laid the groundwork to set ourselves up. In this post, we will go through your flight pre-departure checks. This includes engine starts, taxi checks and run-up checks. Following these checks we’ll be heading to the runway.

Perfect priming

Let’s start our flight pre-departure checks with the most important thing. Safety. Crack open the window and say, ‘CLEAR PROP’. Make sure you give people time to stand clear and scan the area before you move on with your other procedures.

Next, place one hand on the throttle and start cranking the starter, but for no longer than ten seconds each time. If the engine does not fire within 10 seconds, stop cranking right away and wait a minute so the starter motor can cool down. Try some light priming when you’re ready to have another go—it works wonders.

When the engine fires, release the starter promptly. If you’re flying a plane with a fuel-injected Lycoming engine, adjust the mixture to full rich.

Green means go

After a successful engine start, you will need to check that the oil pressure is rising (or has correctly risen) into the green range. This is crucial because oil pressure indicates whether metal components in the engine are sufficiently lubricated.

If oil pressure is not within the green range, shut the engine down immediately and report this to the engineer.

As long as the pressure looks good, you can raise the flaps (if left down after pre-flight), turn on the taxi and navigation lights, and turn on the avionics master switch. Only now should you don and adjust your headsets.

Eyes forward

When taxiing, you should aim to minimise the time you spend with your head down – literally so you don’t bump into anything.

It has become normal for pilots to use GPS devices and iPads (used to run apps like OzRunways) in the cockpit. It is ironic, therefore, that when we attempt to program devices while taxiing we put ourselves at risk of having an accident.

The only exception I make to this rule of my flight departure process is to check the turn instruments. I like to quickly glance down and ensure that:

The slip ball is deflecting properly

The turn coordinator is indicating correctly

The direction gyro turns in the proper direction

The attitude indicator stays erect

The magnetic compass turns in the proper direction.

Remember the CIGAR acronym

I like to do my run-up checks using the acronym ‘CIGAR’. Here is how it works:

Controls – full and free and control surfaces deflect correctly

Instruments – all in the green range, the ammeter is charging and the suction is in the green range

Gas – check the mixture and fuel selector

Airframe – secure the canopy, doors and windows, and make sure your parking brake is on

Run-up – set the correct run-up RPM, check the brakes, check the magnetos, note when the RPM drops (on the Sling with the 912iS engine, one must check that both engine fuel pumps are working), pull the throttle to idle and ensure the engine does not seize at idle

After the run-up, the engine should be set to the ground idle speed as recommended in the POH.

Thank you to student pilot Howard Lau for contributing this great series on flight departure procedures. Stay tuned for the third and final instalment coming soon, as we head to the runway!

Flight-Pre-Departure-Checks
CLEAR PROP! Safety comes first when completing your flight pre-departure checks.

Find out what it feels like to take to the sky! Email [email protected] or visit https://drift.me/learntofly/meeting to book a meeting and school tour.

Learn-To-Fly-Melbourne-Youtube-Subscribe-Footer

Flight Departure Processes: Part 1 of 3

With so many other things in life, it’s easy enough for you to just remember something once you know it. Then it’s no problem to repeat it. Like driving. But flying is different. There are checklists and acronyms (and more checklists) for a reason. There are far more safety considerations when you are flying, and following the right flight departures processes will help to ensure you have a smooth and safe flight, every time.

Walk the walk

A successful and safe flight begins before you even turn on the master switch. It all starts on the tarmac as you approach the aircraft. Your flight departure processes should involve asking yourself lots of questions:

Are the tie-downs done properly?

Are the tyres inflated correctly?

Is there any pink hydraulic fluid around the aircraft?

Is there any blue fluid around the aircraft reminiscent of Avgas?

It has been scientifically proven that asking yourself questions is the most effective way to stay in the loop of information.

Feel the wind

You should not only ask yourself about the aircraft or about the ‘now’ but also ask questions that will bring into effect a successful take-off. Personally, I like to ask myself these:

Should I use flaps or not?

What technique will I use for these conditions? Short field or normal?

Should I delay my rotation for density altitude, load or gusts?

What crosswind correction should I be using during taxi and initial roll?

These questions really are the basis for me completing smooth and safe flight procedures. They help me make sure I’m always ready to respond to new information. On that note, try to make sure you always pay attention to your surroundings. Feel the wind, look at the windsock, listen to the wind and feel the temperature on your skin. Forming attentive habits and looking out for these cues will allow you to prepare for a better flight.

Take it easy

After a normal interior and exterior pre-flight check has been completed, and the aircraft is confirmed to be in safe working order, we can proceed to the engine start. My secret tip is don’t rush!

I’ve had the fortune to fly with the training captain of a major airline in Hong Kong, who is also a tailwheel aircraft instructor and aerobatic pilot. He said these wise words I will never forget, ‘Don’t rush because if you rush you will kill yourself one day.’ I could not believe the severity of his words given his experience in aviation! Needless to say, I listened to his advice.

Get ready for ignition

Before I start the engine, I like to plug in the key, and with the master switch off, I rotate the key to start and then release it. The key should immediately snap back to the both position. This is a simple pre-start ignition check that I learned during my time as an aircraft maintenance intern in Hong Kong.

What this check does is make sure that the starter motor does not engage when the master switch is off, the key locks into position properly and the spring mechanism works.

Prepare the cabin

With the pre-start ignition check completed, I check the cabin. This is when you should adjust your harnesses and seats to your satisfaction, and keep a window or the canopy open. After ensuring that the propeller area is clear, flip on the beacon light switch and the master switch.

Look at your ammeter—it should show a discharge. Check your oil temperature to gauge the amount of priming required or (if it’s the Rotax 912ULS equipped Sling 2 or the Bristell at Learn to Fly) the use of choke. Ensure all circuit breakers are in and the avionics master switch is off.

Wait for it

One of my pet peeves at this stage is pilots who don their headsets before the engine has started. What if someone was trying to get your attention about an unfolding emergency? With the headset on, you wouldn’t be able to hear them. Instead, remove the headset from the dashboard and put it on your lap so you can have maximum visibility out of the windscreen.

An unwritten rule

Set the fuel selector in accordance to the POH and prime as required. After priming, ensure the primer pump is in and locked or, alternatively, that the auxiliary fuel pump is off. If the plane has a fuel-injected Lycoming machine, check that the mixture is set to full rich. If you’re ever in doubt, start with no prime. This will avert the possibility of flooding the cylinder heads due to excessive priming.

Thank you to student pilot Howard Lau for contributing this great series on flight departure processes. Stay tuned for the next part, where we run through flight pre-departure checks.

Flight-Departure-Processes-Female-Pilot
Getting your flight departure processes right ensures the safest start to your flight.

Find out what it feels like to take to the sky! Email [email protected] or visit https://drift.me/learntofly/meeting to book a meeting and school tour.

Learn-To-Fly-Melbourne-Youtube-Subscribe-Footer